


🚀 Hey Code Dreamers! Let's Dive into the World of Full-Stack Magic: Deploying Your Creation! 🚀
Ah, the thrilling journey from the frontend playground to the backend realm! Picture this: starting with humble HTML, CSS, and JS for small apps, where deploying on GitHb is a breeze, Know How ?. But hold onto your coding hats because as we step into the big leagues, performance becomes the name of the game.
🌟From Simple to Supercharged - The Evolution Begins! 🌟
But hold onto your code snippets because, as we venture into the realm of big projects, the game gets real. It's not just about creating; it's about performance, speed, and that 'wow' factor. This is where our trusty sidekicks come into play – React for the frontend and Express for the backend.
💡 Title Teaser - Unveiling the Full-Stack MERN Magic! 💡
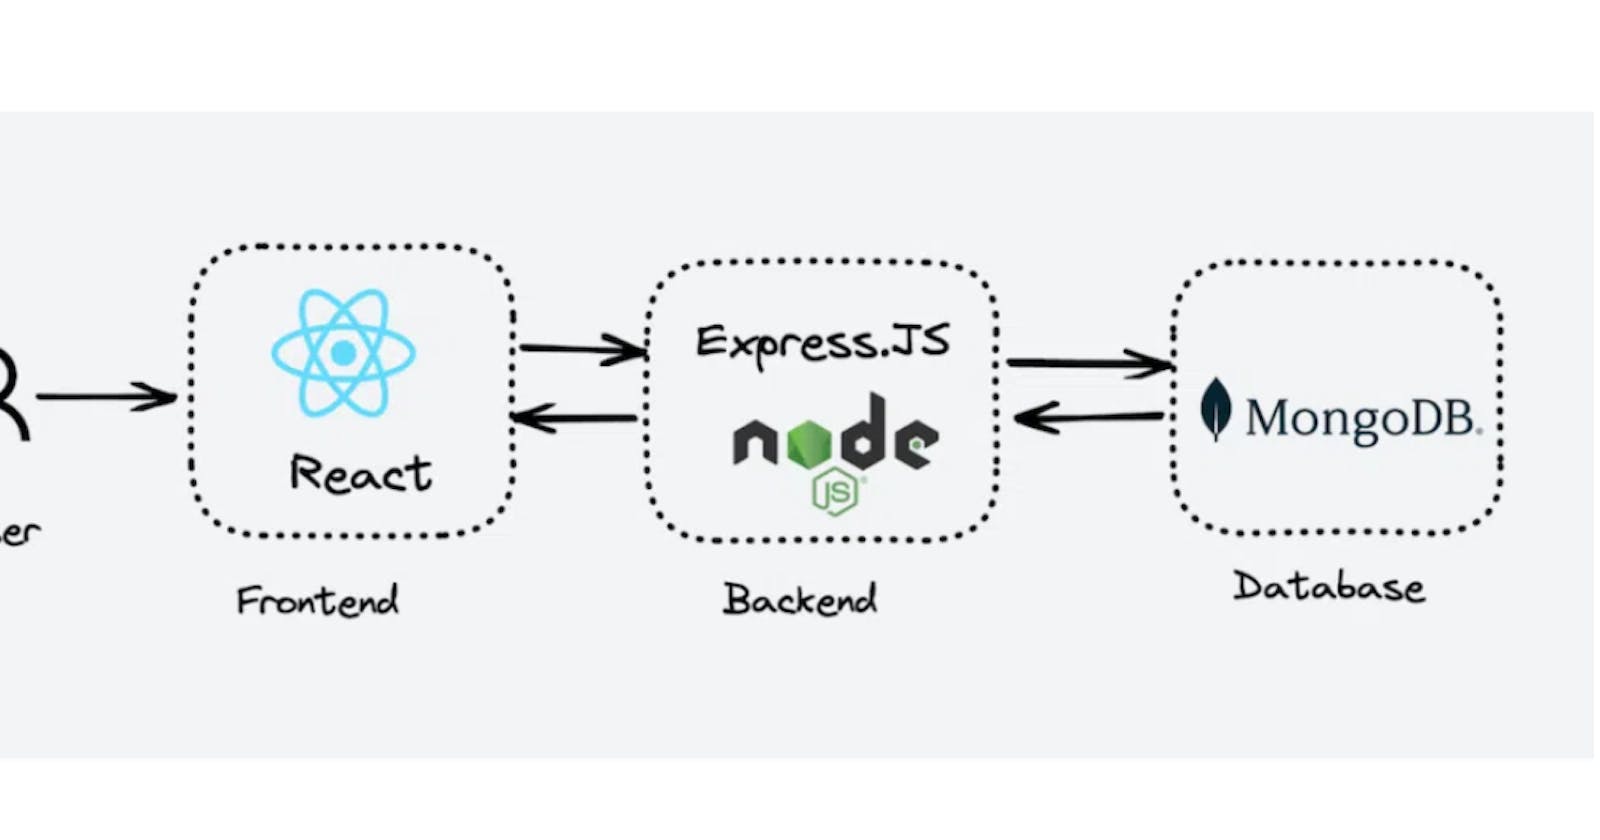
In this blog, get ready for a coding rollercoaster as we unveil the secrets of deploying a full-stack MERN (MongoDB, Express, React, Node) application. From laying the foundation with MongoDB atlas to the frontend fireworks with React, and the backend symphony with Express and Node.js, we're covering it all.
🚀 So, Code Warriors, Buckle Up! The Full-Stack Adventure Awaits! 🚀
Whether you're a seasoned developer or just dipping your toes into the coding ocean, this blog is your compass. Let's embark on this journey together and uncover the magic of deploying a full-stack application. Are you ready to make your creation come alive? Let's dive in! 🚀✨
There are plenty of websites to host the application, but in this blog, I'll use the Netlify for hosting the frontend of the application and Render for hosting the backend(Server). The database we use is the MongoDB atlas, which we can connect using the MONGO username and password.
NOTE:- To deploy the full stack application, the backend and frontend part of the code must be in a different GitHub repository.
Backend Deployment:- Render
Make an account on Render, and try to sign up using Github.

STEP 1 : Click on the New + button to add a new Express.js server.

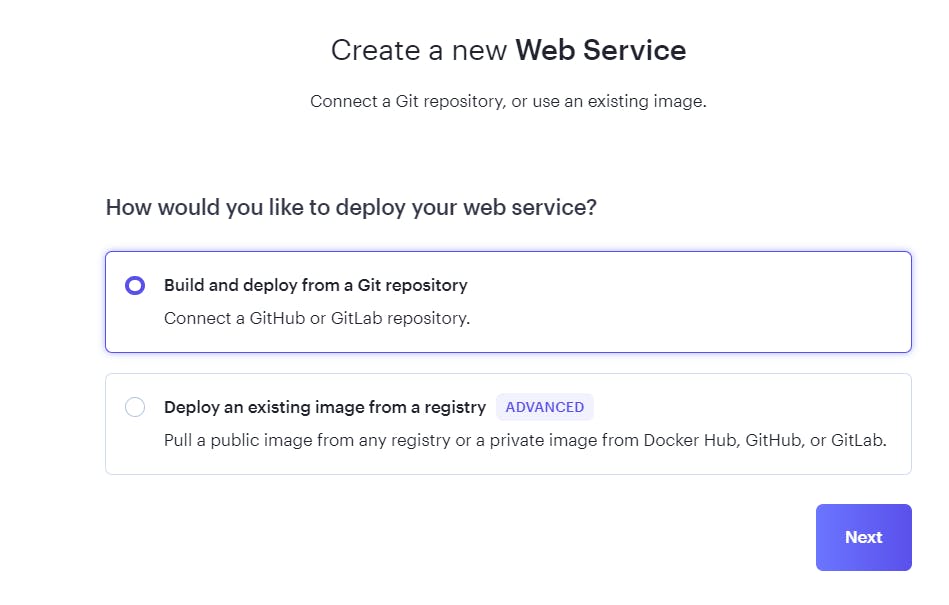
A pop-up window will occur, then choose Web Service option since we want to deploy the backend Web Service.
STEP 3 : Choose the First option to select the code to deploy from the repository. A new window will appear .
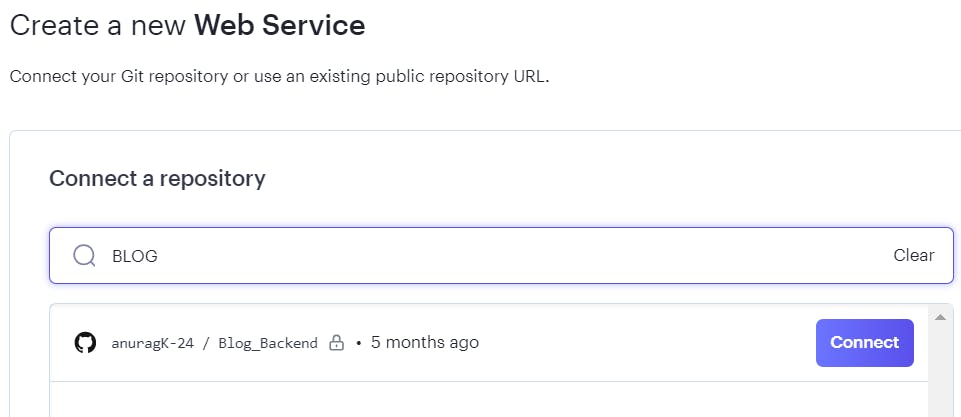
STEP 4 : Search the backend code Github repository that we want to deploy. And click on the Connect, a new window will be appeared.
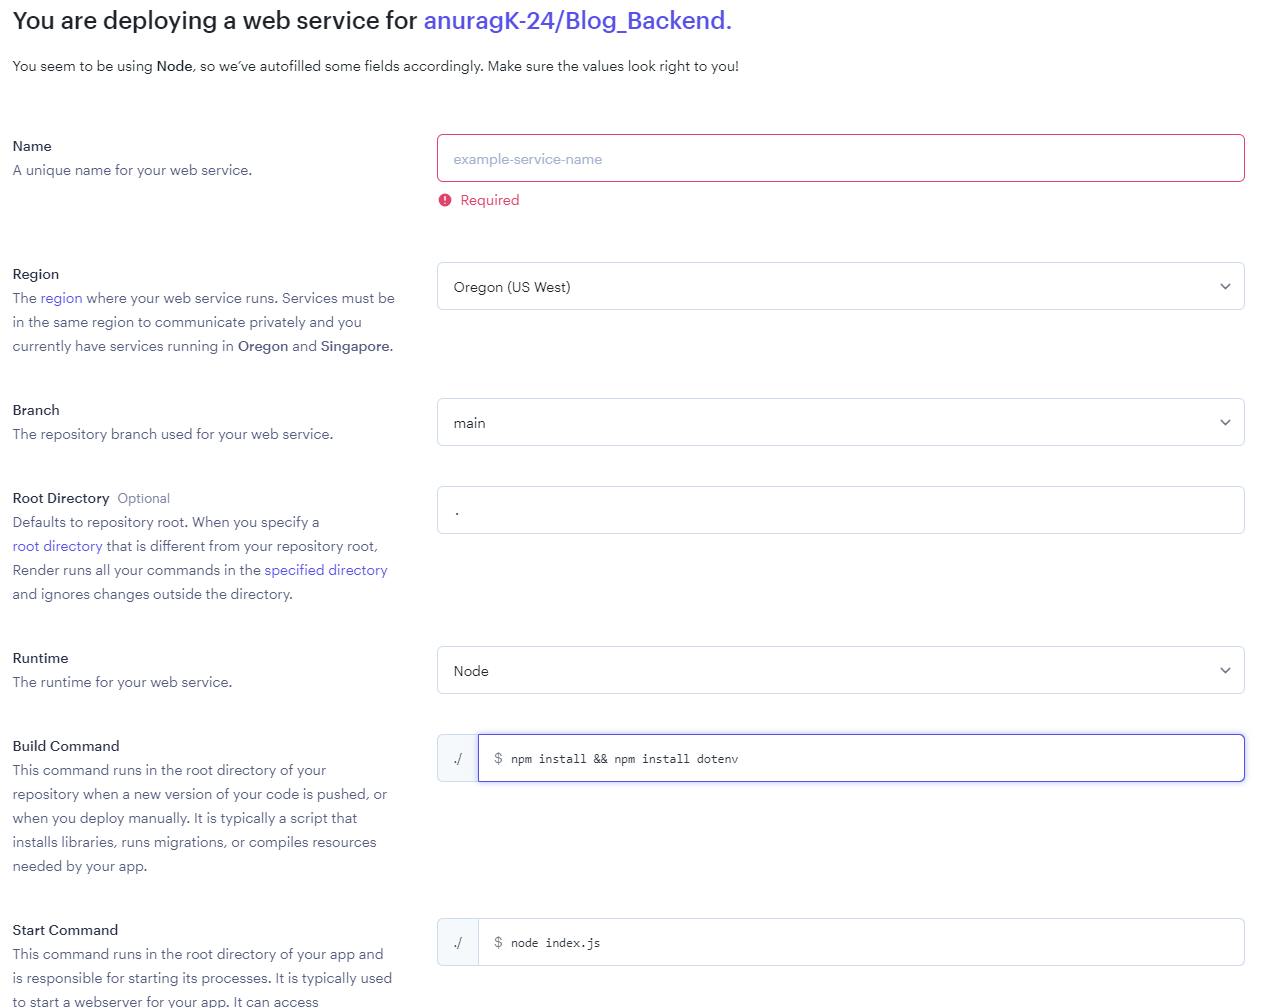
STEP 6 : Fill all the details as give below :-
Name : give any name
Region : Select the nearest region where you are.
Branch : If all the code is in the main branch, or if you didn't make any new branch, enter main .
Root Directory: Fill '.'
Runtime : Node
Build command : npm install && npm install dotenv
Start command : enter the start command node index.js , if the entry file is index.js
Environment Variables : In this you can add the content of .env file as key value pair or add whole .env file.
Click on the Create web service button your backend web service is deployed completely.

Frontend Deployment:- Netlify
Before deployment, do these changes in the frontend repository.
Adding the backend deployed link
The backend server link, which is generated on deploying the web service paste in the package.json file.
"proxy":"<backend web service link>"
As below:-

Add the link before all the parts of frontend part of the code, where the backend call has been made.
As below:-
//before
const res = await axios.get("/api/posts/" + path);
//After adding
const res = await axios.get("https://blogap-fsd-wr32.com/api/posts/" + path);
Next add the _redirects file in the Frontend Repo
public/_redirects
Note :- In the frontend Repository make a file, name _redirects in the public directory, and paste the below data in the _redirects file.
/* /index.html 200
It'll keep your React navigation smooth by ensuring the correct route setup to avoid pesky errors like below.

Now we'll start the Deployment process of the frontend part
Make an account on Netlify, and try to sign up using Github.
STEP 1: Go to the Sites on the Netlify application, which will be in the left sidebar option.
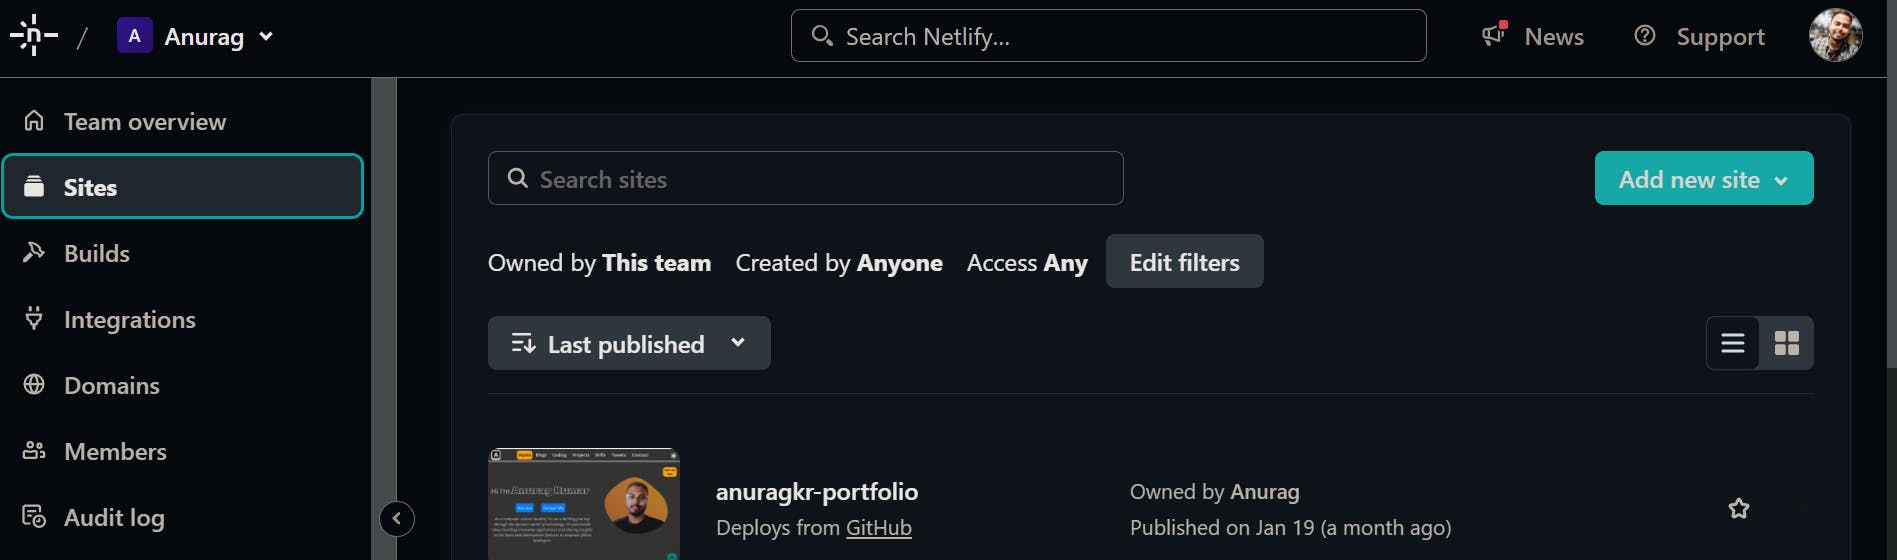
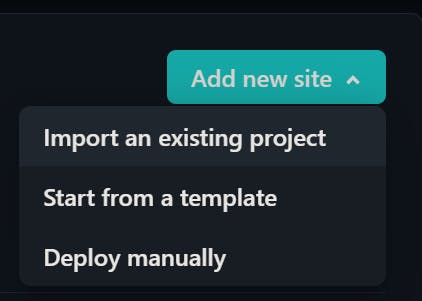
STEP 2: Then click on the Add new site button, a pop-up will open like this just below the button. As you can see there are various ways of adding, I will go by the first choice which is Import an existing project .
STEP 3: Click on the button Deploy with GitHub that'll take you to the GitHub repo, if you followed to logging with GitHub. Otherwise do connect with GitHub.

STEP 4: Search the Frontend application repository of the project. And select the repository to proceed.

STEP 5: Fill in the information as given below.
Site name -> It's optional you can give any name
Branch Name -> The branch of the repo which you want to deploy. If you didn't make branch leave as main.
Base Directory -> Fill the present directory that's '.'. If the base directory is different give their path.
NOTE: The build command to deploy the frontend application must be the following:-
CI=''npm run build
The quote used in the above command is the two single quotes '.
After filling in all the information click on the deploy button to deploy the application.

The frontend part of the code is deployed successfully, and you can access it via the link provided by the Netlify.
🚀 Wrapping Up: Your Full-Stack Saga! 🚀
And that concludes our coding symphony, where MongoDB, Express, React, and Node.js came together in a harmonious MERN stack. As you prepare to deploy your creation, remember that every bug conquered is a step towards mastery, and every line of code written is a stroke on the canvas of innovation.
So, fellow coders, as you venture into the deployment phase,
may your servers be swift,
your databases responsive, and
your user interfaces delightful
Here's to the culmination of your full-stack odyssey – happy coding, and may your websites shine bright in the vast expanse of the digital realm! Until next time, keep coding with joy! 🚀✨
Thanks for Reading!
Check Out My PortfolioClick me.
🌟 Drop a Like if You Enjoyed the Ride! 🌟